
Kirk Rich takes pride in having a time tested process that achieves the best outcome for your dial refinishing. With a mix of classic and modern technology, your dial is tended to with the best equipment and tools to ensure a premier refinishing.
Want to have a sense of how detailed this process is? We go into detail!

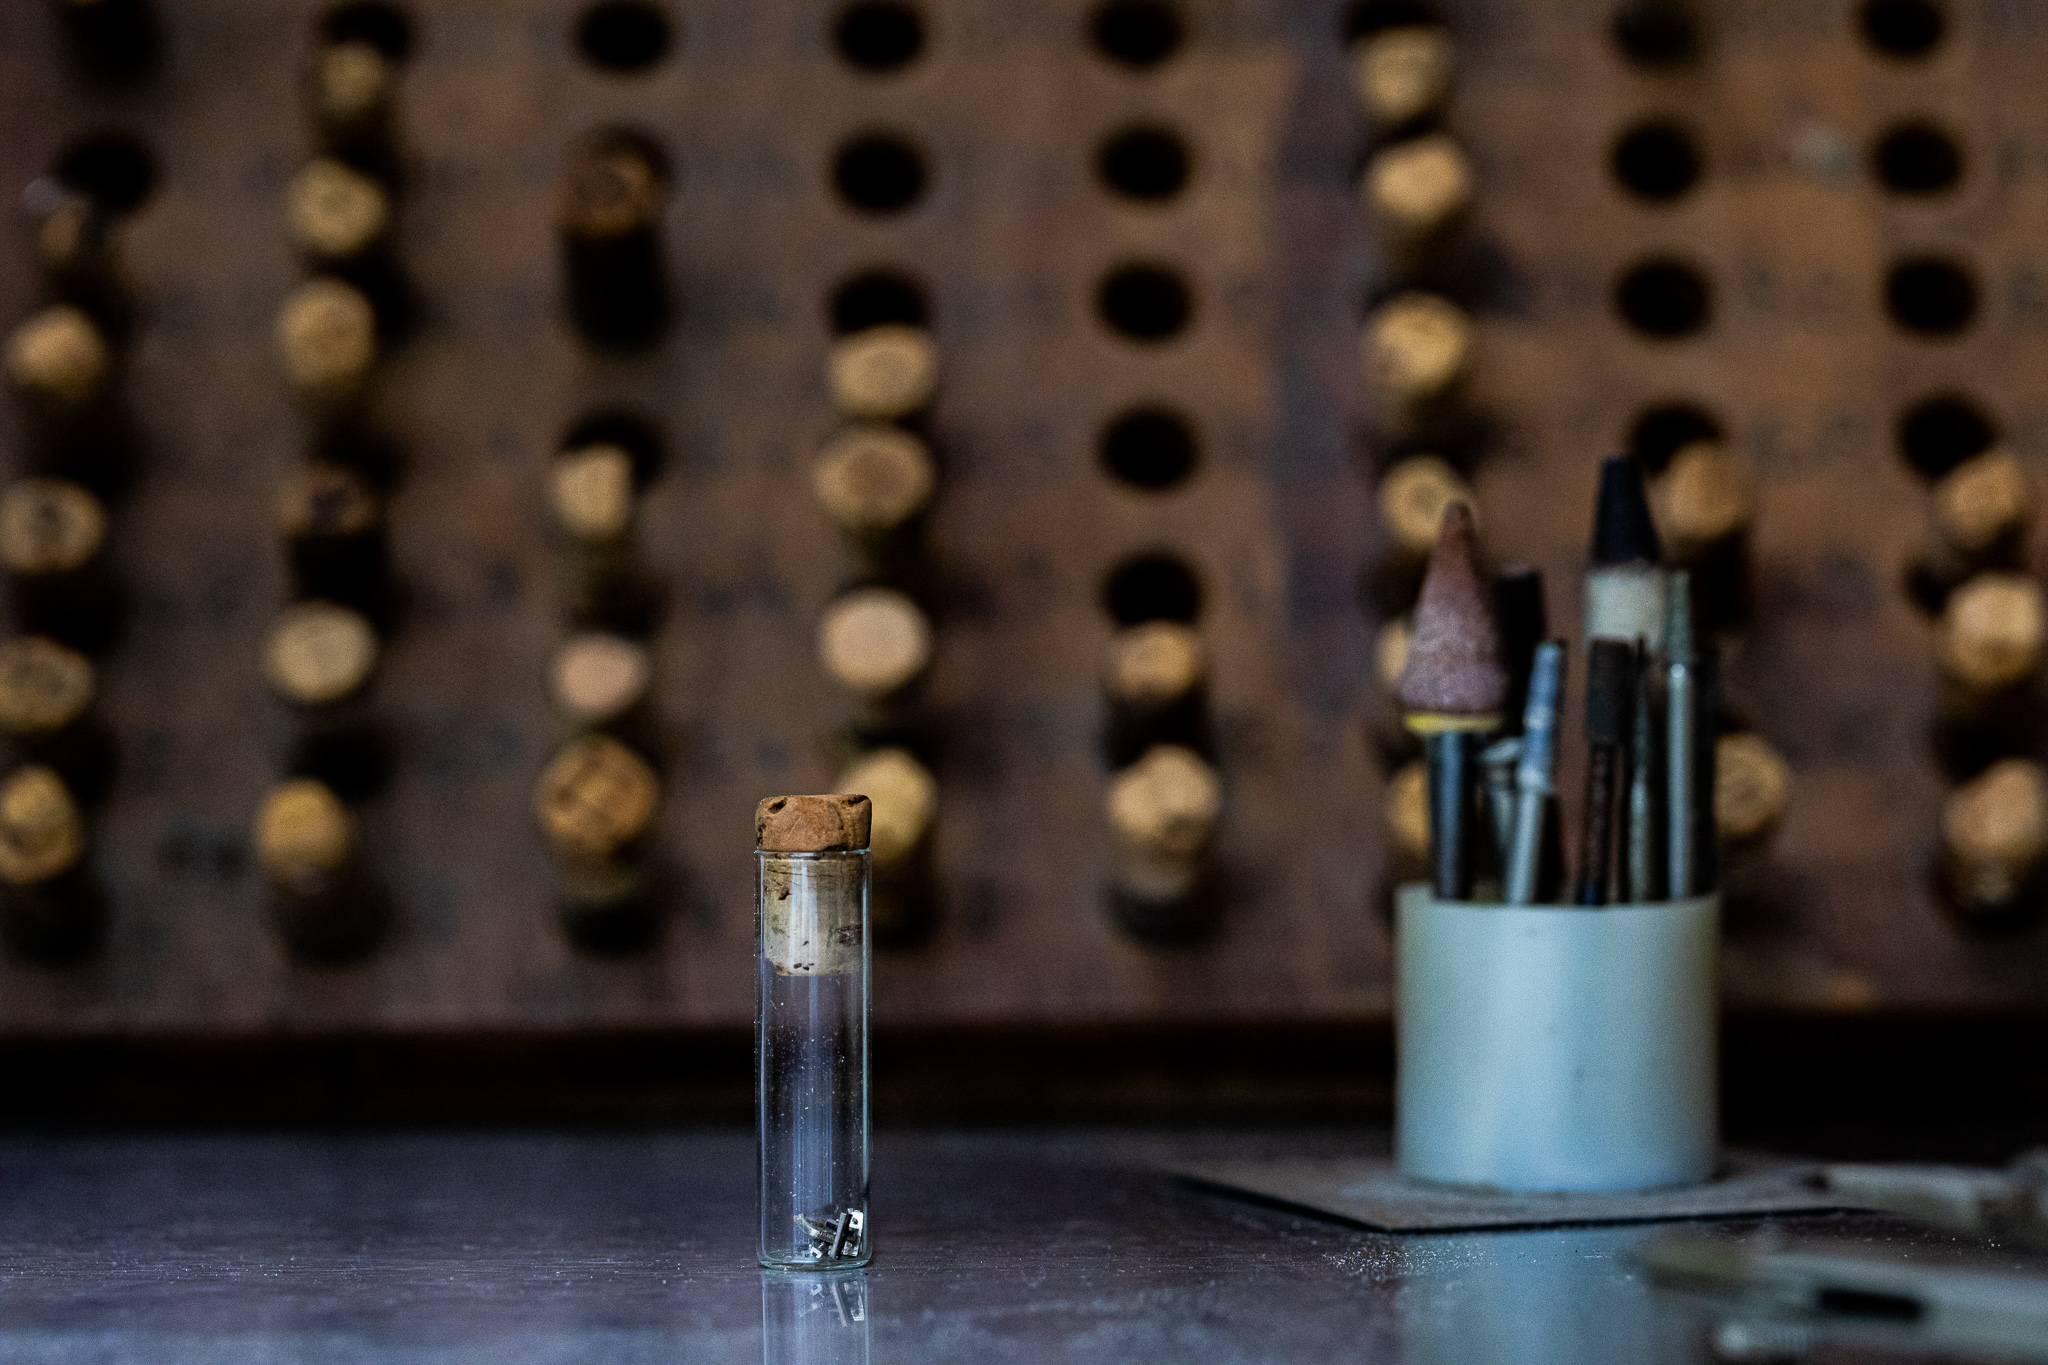
Step 1: The Prep Station
This is the beginning of our refinishing process.
First, we take the customer’s information on the desired outcome for the dial and plan for any special requests you may have.
We then prepare the dial for cleaning and refinishing by removing the figures from the dial and polishing the dial face to remove any rust or unwanted dirt.
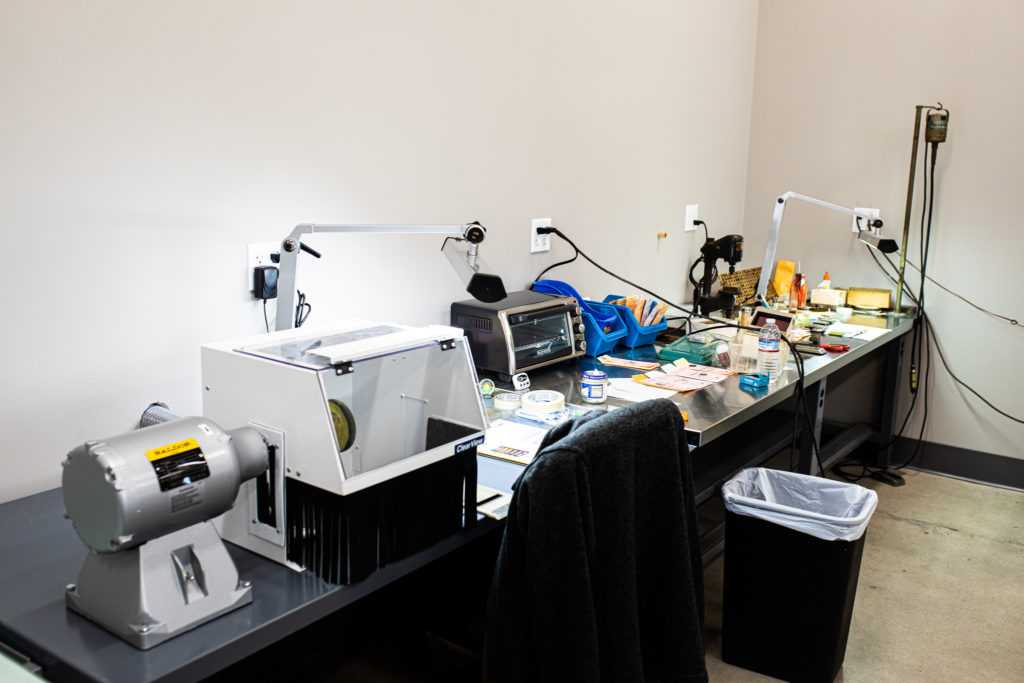
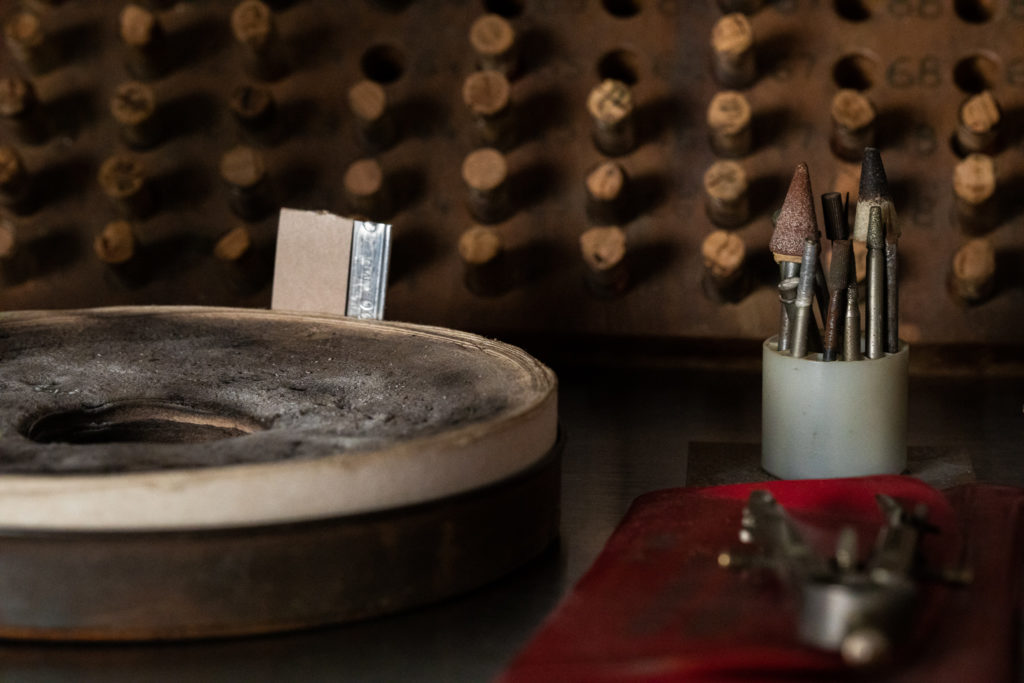
Step 2: Refinishing Station
This is the part of the process where we clean and refinish the dial face.
First, we apply whatever color or two-tone that is desired by the customer. We then brush and apply metal plating to the dial as many times as is required for the perfect outcome. This step is fully complete before applying the refinishing style.
After it is cleaned and prepared, we apply the desired finish the customer is looking for. We can apply any style of finish including flat finishes, textured finishes, and sunray finishes.
Depending on the customer’s desire, the dial is then lacquered to provide a shiny new finish.
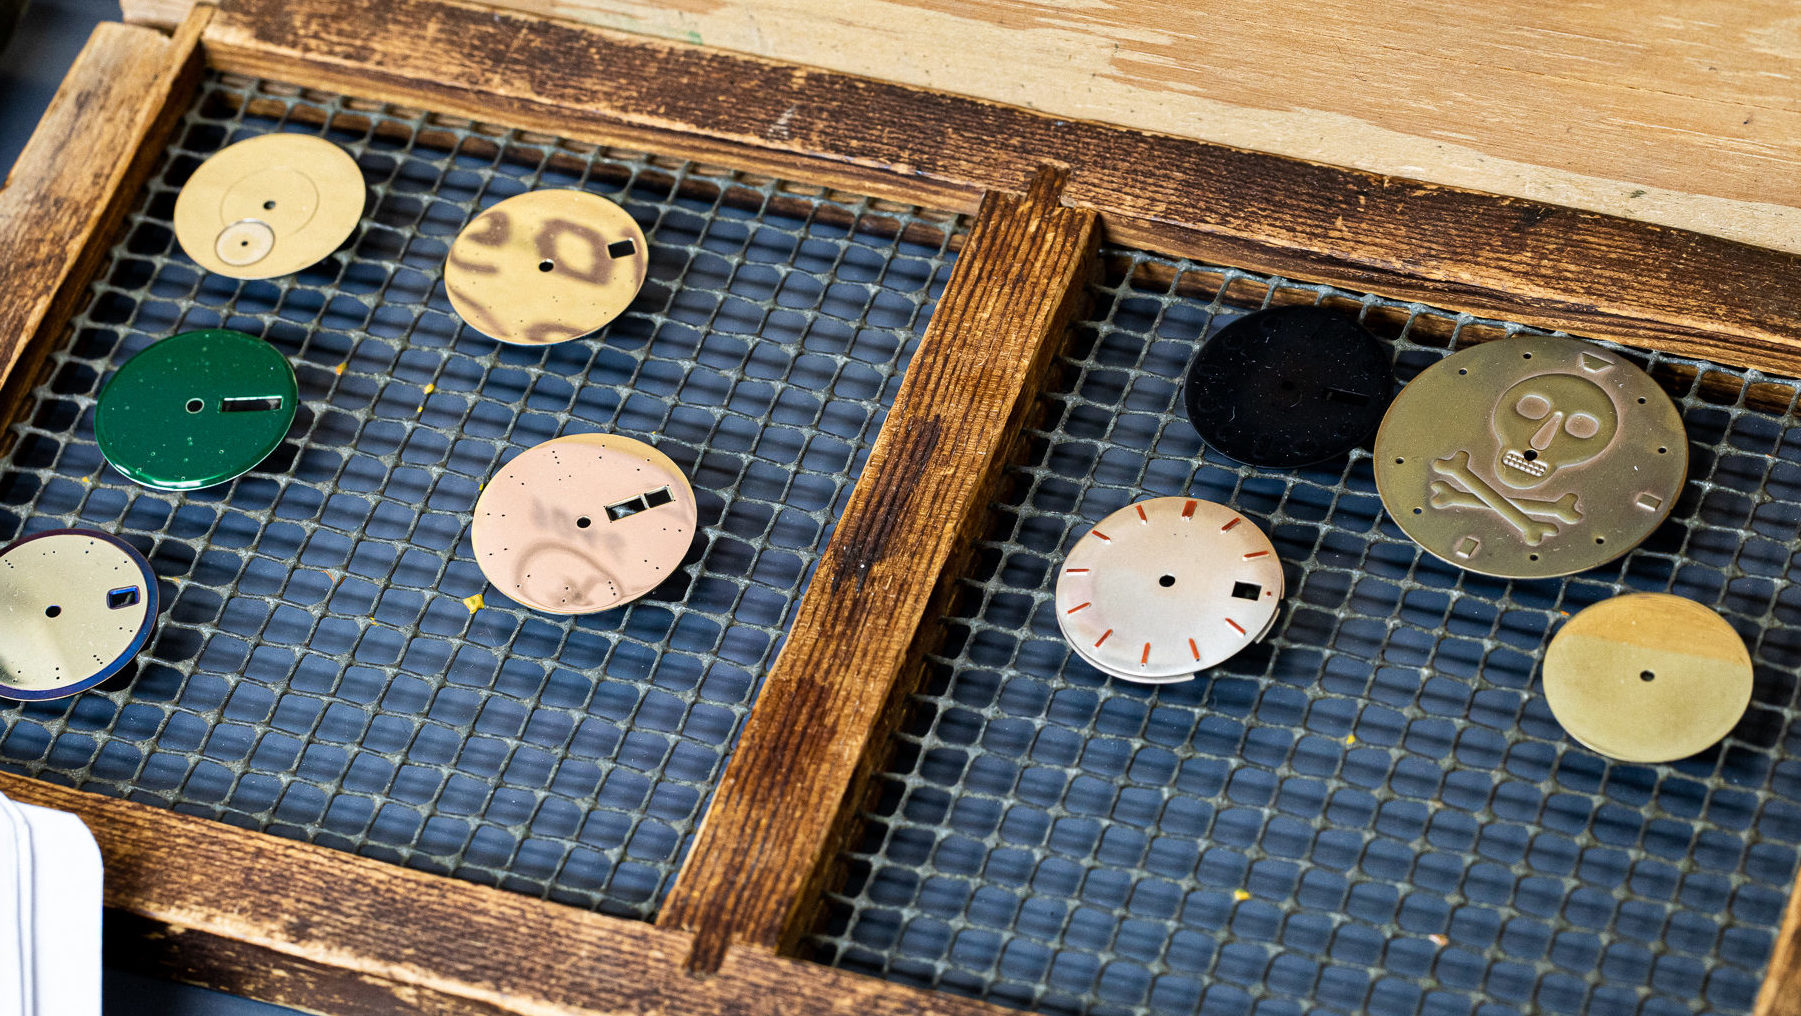
Step 3: Printing Station
After refinishing, we move to the printing station to apply the correct template and die, apply luminous, and dry the watch.
We have an extensive inventory of dies (templates) with original patterns to match whatever dial face is brought to us. If we don’t have your exact die (template), we will create it to get the match of your dial face. We also have original manufacturer lettering and logos to replicate the original dial. The watch is then placed under our heat lamp to dry.
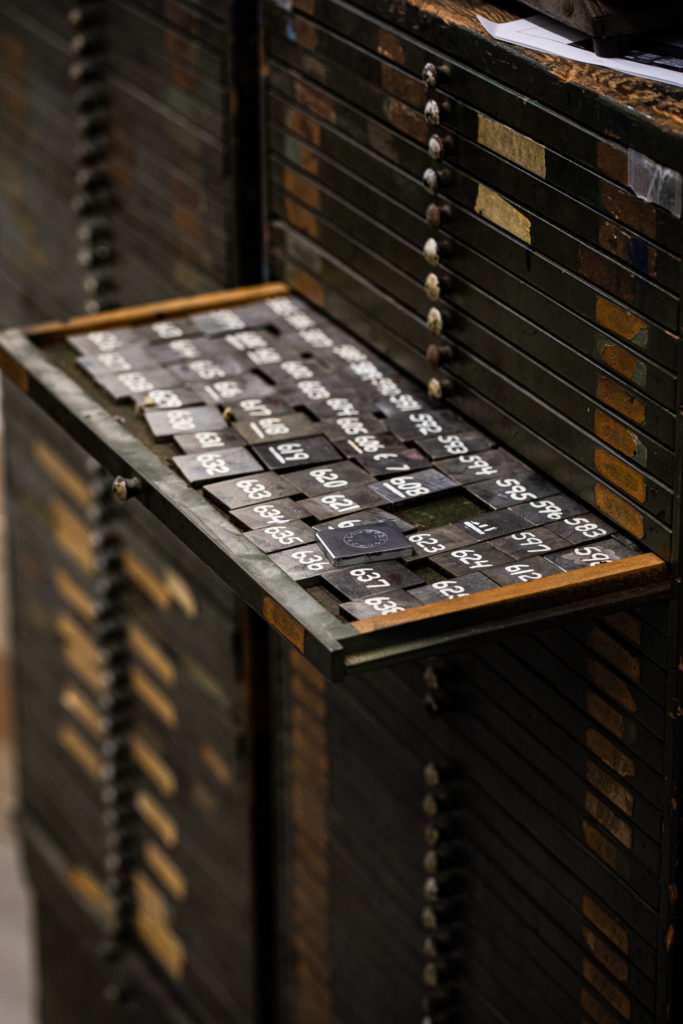
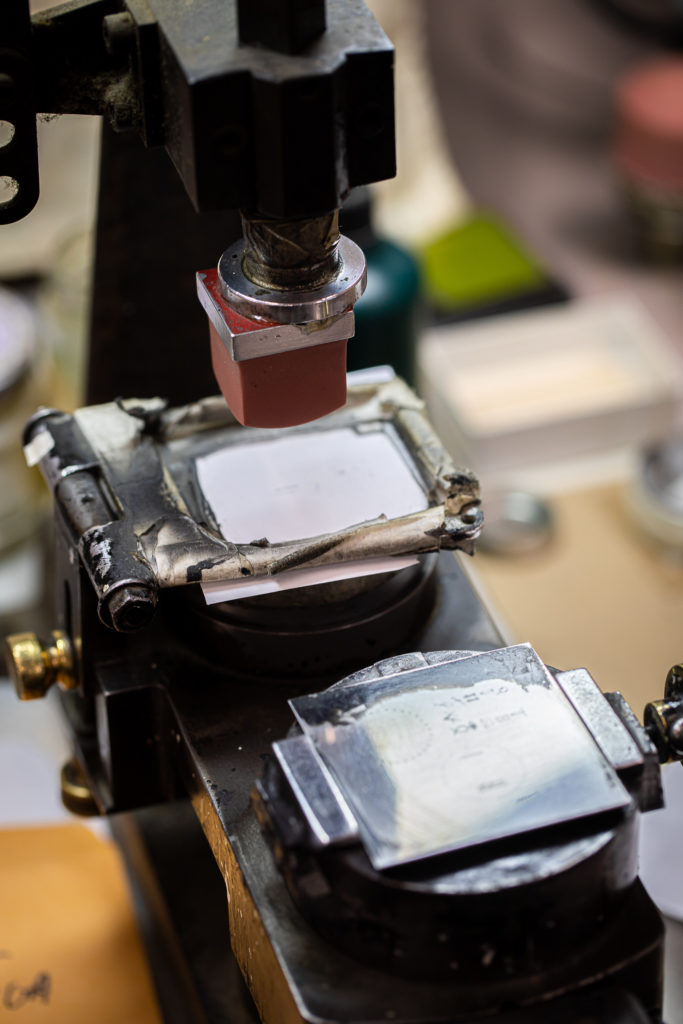
After the proper die, lettering, and logos are done, we move onto the closing station.
Step 4: Prep Station
After refinishing, we move to the printing station to apply the correct template and die, apply luminous, and dry the watch.
We have an extensive inventory of dies (templates) with original patterns to match whatever dial face is brought to us. If we don’t have your exact die (template), we will create it to get the match of your dial face. We also have original manufacturer lettering and logos to replicate the original dial. The watch is then placed under our heat lamp to dry.
After the proper die, lettering, and logos are done, we move onto the closing station.
Step 5: Closing Station
After the correct die template is applied, we move on to the final touches.
In this stage, we first reattach the figures to the dial face. When the figures are reapplied, we paint each one with luminous.
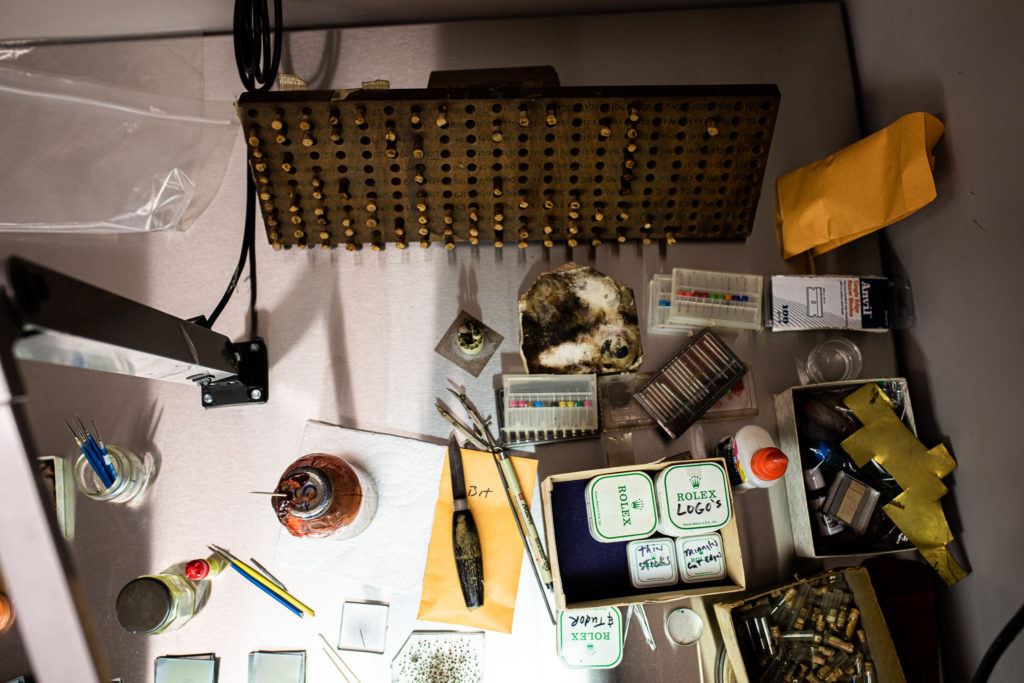
We will also solder on new dial feet if you desire a new movement. After this is done, your dial is fully refinished and ready to get used again!
Check out our before and after images in our Gallery to see the results for yourself!